Markdown in SwiftUI Text
Reading time: 1 min
This recipe shows how to use markdown in SwiftUI Text views.
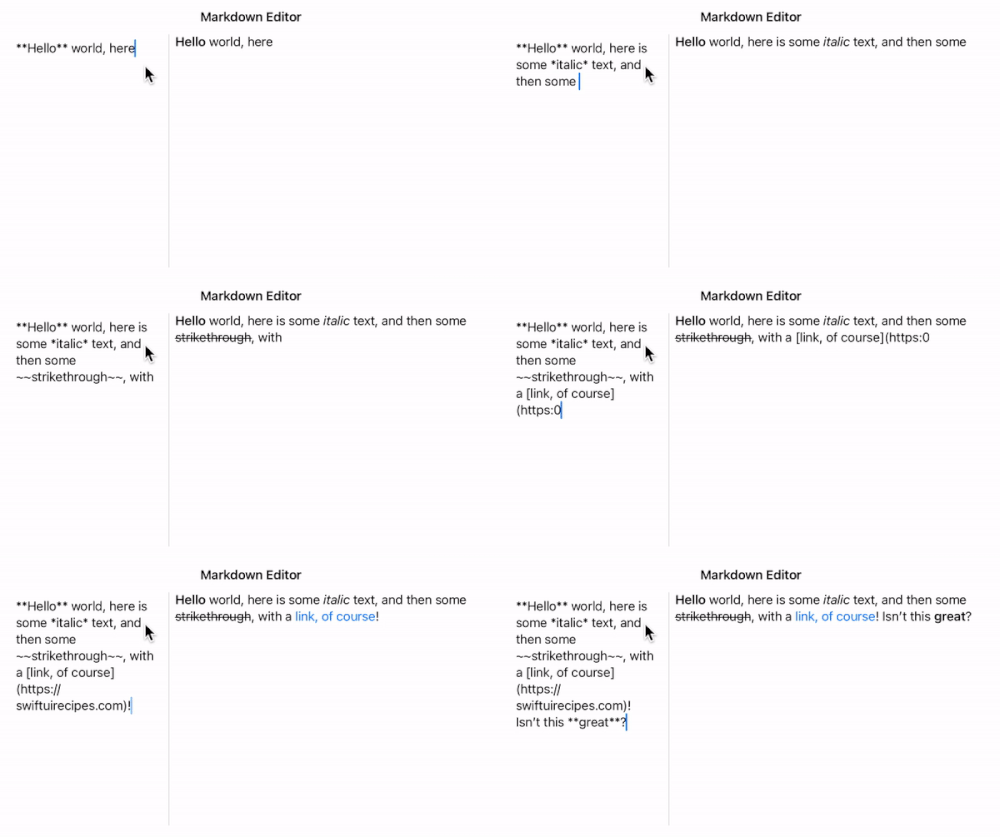
The end result looks like this:

This code works starting with SwiftUI 3 (iOS 15, macOS 12). If you're interested in using attributed strings on SwiftUI 1 and 2, check out Text with NSAttributedString recipe or Hyperlinks with Text recipe.
OK, so there's no big secret here, Text will automatically render any markdown you pass to it:
Text("Yep, this **actually** works!")Now, if you don't want to use markdown, create your view with Text(verbatim:):
Text(verbatim: "This **will not** render markdown.")If you need to dynamically update the content of your markdown-rendering Text, you have to utilize AttributedString. Here's the code for our little markdown editor that you saw in action at the beginning of the article:
@State private var markdownText: String = "**Hello** world"

var markdown: AttributedString {
  (try? AttributedString(markdown: markdownText)) ?? AttributedString()
}

var body: some View {
  VStack {
    Text("**Markdown Editor**") // yep, also native markdown
    HStack(alignment: .top) {
      TextEditor(text: $markdownText)
        .disableAutocorrection(true)
        .autocapitalization(.none)
        .frame(width: 200)
      Divider()
      Text(markdown)
        .lineLimit(nil)
        .multilineTextAlignment(.leading)
      Spacer()
    }
  }.padding()
}
Lastly, SwiftUI's markdown isn't the complete markdown you're used to and can be used for basic formatting: More specifically, it supports:
**bold text**
*italics*
~~strikethrough~~
`inline code`
[Hyperlinks](https://hyperlink.com)
To see how to make hyperlinks in Text work, check out this recipe.