16
Apr
2022
SwiftUI Orientation Stack
Reading time: 1 min
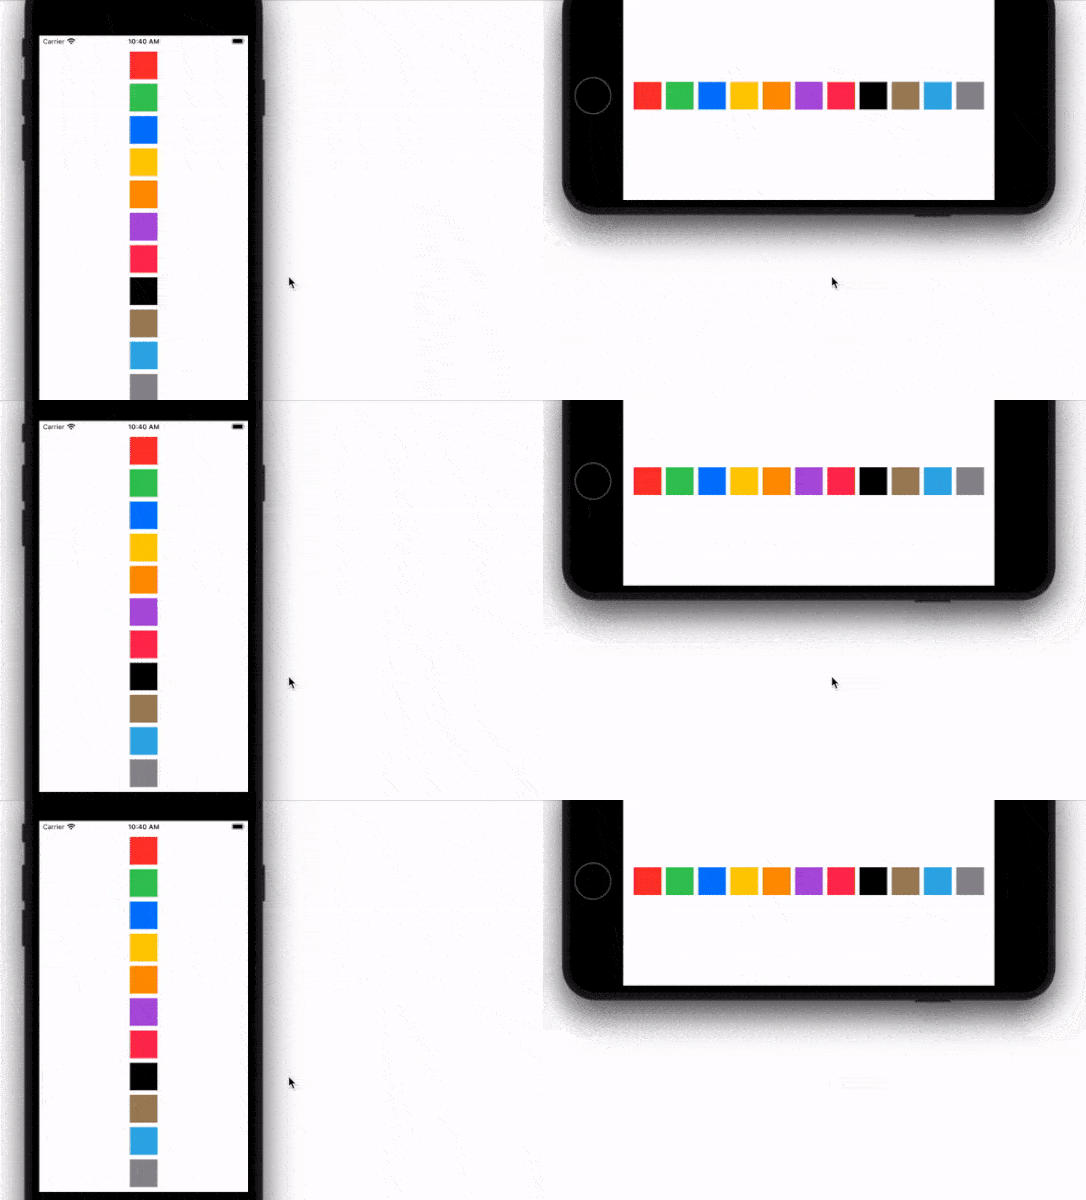
This recipe shows how to implement an orientation stack in SwiftUI. This stack will lay out its content along the main screen axis - vertical or horizontal. In other words, it's a VStack if your phone is in portrait mode and an HStack if it's in landscape.
The end result looks like this:

This recipe relies on the OrientationDetector modifier from this recipe to figure out when device orientation changes. Then, it chooses the appropriate layout, while also allowing you to specify its alignment and item spacing. Here's the code:
struct OStack<Content>: View where Content: View {
  let alignment: Alignment
  let spacing: CGFloat?
  let content: () -> Content

  @State private var orientation = UIDevice.current.orientation

  init(alignment: Alignment = .center,
       spacing: CGFloat? = nil,
       @ViewBuilder content: @escaping () -> Content) {
    self.alignment = alignment
    self.spacing = spacing
    self.content = content
  }

  var body: some View {
    Group {
      if orientation.isLandscape {
        HStack(alignment: alignment.vertical,
               spacing: spacing,
               content: content)
      } else {
        VStack(alignment: alignment.horizontal,
               spacing: spacing,
               content: content)
      }
    }
    .detectOrientation($orientation)
  }

  enum Alignment {
    case topOrLeading, center, bottomOrTrailing

    var vertical: VerticalAlignment {
      switch self {
      case .topOrLeading:
        return .top
      case .center:
        return .center
      case .bottomOrTrailing:
        return .bottom
      }
    }

    var horizontal: HorizontalAlignment {
      switch self {
      case .topOrLeading:
        return .leading
      case .center:
        return .center
      case .bottomOrTrailing:
        return .trailing
      }
    }
  }
}
OStack can then be used just like any other stack:
struct OStackTest: View {
  var body: some View {
    OStack(alignment: .center, spacing: 10) {
      ForEach([Color.red, .green, .blue, .yellow, .orange, .purple,
              .pink, .black, .brown, .cyan, .gray], id: \.self) { color in
        color
          .frame(width: 50, height: 50)
      }
    }
  }
}