Reading time: 1 min
This recipe shows how to detect layout direction in your SwiftUI views, which is useful to be able to support both left-to-right (LTR) and right-to-left (RTL) languages. It also shows how to force this setting for testing purposes.
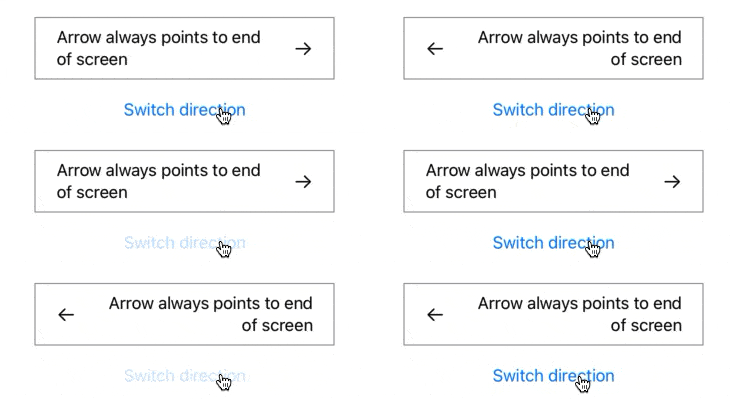
The end result looks like this:

Detecting layout direction
You can easily obtain the current layout direction from the Environment and then use it to adjust your UI:
struct LayoutDirectionTest: View {
  @Environment(\.layoutDirection) var direction

  var body: some View {
    HStack {
      Text("Arrow always points to end of screen")
      Image(systemName: (direction == .leftToRight)
        ? "arrow.right"
        : "arrow.left")
    }
  }
}
Forcing layout direction
To force a certain layout direction on a view hierarchy, just set it using environment. If you wish this to have an app-wide effect, set it on your ContentView:
WindowGroup {
  ContentView()
    .environment(\.layoutDirection, .rightToLeft)
}
Of course, this works on any preview as well. Heck, you can even change it at runtime:
struct LayoutDirectionChangerTest: View {
  @State private var layoutDirection = LayoutDirection.leftToRight

  var body: some View {
    VStack(spacing: 20) {
      LayoutDirectionTest()
        .environment(\.layoutDirection, layoutDirection)

      Button("Switch direction") {
        layoutDirection = (layoutDirection == .leftToRight)
          ? .rightToLeft
          : .leftToRight
      }
    }
  }
}