28
Feb
2022
SwiftUI Marquee
Reading time: 2 min
This recipe shows how to implement a marquee - self-scrolling content that goes across the screen - in SwiftUI. You'll be able to control the speed and direction of the animation, as well as if it reverses or resets once it ends.
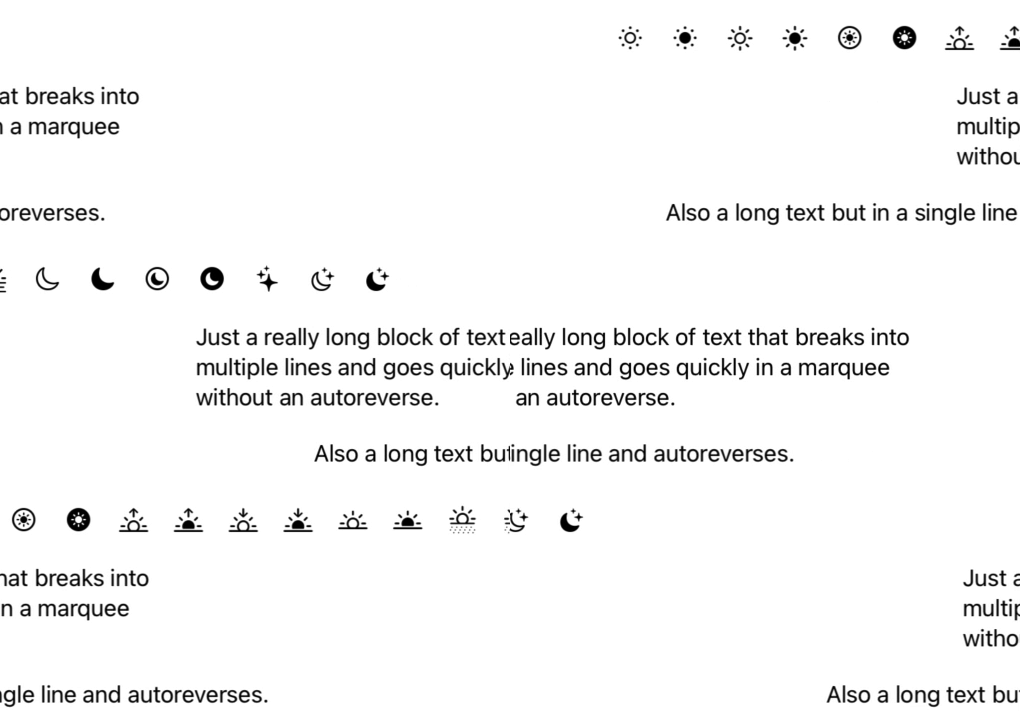
The end result looks like this:

Recipe
This recipe relies on two components from previous recipes:
- measureSize modifier to get the width of the screen and the marquee view.
- animationObserver to know when the marquee animation ends and needs to be reset.
Beyond that, the recipe is fairly straightforward:
- Figure out the width of the parent view of the marquee.
- Figure out the width of the marquee view.
- Offset the marquee view by the full width of either it or the parent view, depending on which one is greater.
- Animate the offset change so that the marquee view passes the full width and dissapears on the other side.
Here's the full code:
struct Marquee: ViewModifier {
  let duration: TimeInterval
  let direction: Direction
  let autoreverse: Bool

  @State private var offset = CGFloat.zero
  @State private var parentSize = CGSize.zero
  @State private var contentSize = CGSize.zero

  func body(content: Content) -> some View {
    // measures parent view width
    Color.clear
      .frame(height: 0)
      // measureSize from https://swiftuirecipes.com/blog/getting-size-of-a-view-in-swiftui
      .measureSize { size in
        parentSize = size
        updateAnimation(sizeChanged: true)
      }

    content
      .measureSize { size in
        contentSize = size
        updateAnimation(sizeChanged: true)
      }
      .offset(x: offset)
      // animationObserver from https://swiftuirecipes.com/blog/swiftui-animation-observer
      .animationObserver(for: offset, onComplete: {
        updateAnimation(sizeChanged: false)
      })
  }

  private func updateAnimation(sizeChanged: Bool) {
    if sizeChanged || !autoreverse {
      offset = max(parentSize.width, contentSize.width) * ((direction == .leftToRight) ? -1 : 1)
    }
    withAnimation(.linear(duration: duration)) {
      offset = -offset
    }
  }

  enum Direction {
    case leftToRight, rightToLeft
  }
}

extension View {
  func marquee(duration: TimeInterval,
               direction: Marquee.Direction = .rightToLeft,
               autoreverse: Bool = false) -> some View {
    self.modifier(Marquee(duration: duration,
                          direction: direction,
                          autoreverse: autoreverse))
  }
}
Then, you can simply attach the marquee modifier to your views:
struct MarqueeTest: View {
  let longText = "Just a really long block of text that breaks into multiple lines and goes quickly in a marquee without an autoreverse."
  let autoreverseText = "Also a long text but in a single line and autoreverses."
  let symbols = ["sun.min",
                 "sun.min.fill",
                 "sun.max",
                 "sun.max.fill",
                 "sun.max.circle",
                 "sun.max.circle.fill",
                 "sunrise",
                 "sunrise.fill",
                 "sunset",
                 "sunset.fill",
                 "sun.and.horizon",
                 "sun.and.horizon.fill",
                 "sun.dust",
                 "sun.dust.fill",
                 "sun.haze",
                 "sun.haze.fill",
                 "moon",
                 "moon.fill",
                 "moon.circle",
                 "moon.circle.fill",
                 "sparkles",
                 "moon.stars",
                 "moon.stars.fill"]

  @State private var size = CGSize.zero

  var body: some View {
    Text(longText)
      .marquee(duration: 5, direction: .leftToRight)

    Text(autoreverseText)
      .lineLimit(1)
      .fixedSize()
      .marquee(duration: 7, autoreverse: true)

    ScrollView(.horizontal, showsIndicators: false) {
      HStack {
        ForEach(symbols, id: \.self) { symbol in
          Image(systemName: symbol)
            .frame(width: 32, height: 32)
        }
      }
      .marquee(duration: 10)
    }
  }
}