SwiftUI Paging with TabView
Reading time: 1 min
This recipe shows how to implement a Pager View using a TabView in SwiftUI. This is an awesome addition in iOS 14.0, allowing you to trivially create a swipeable pager.
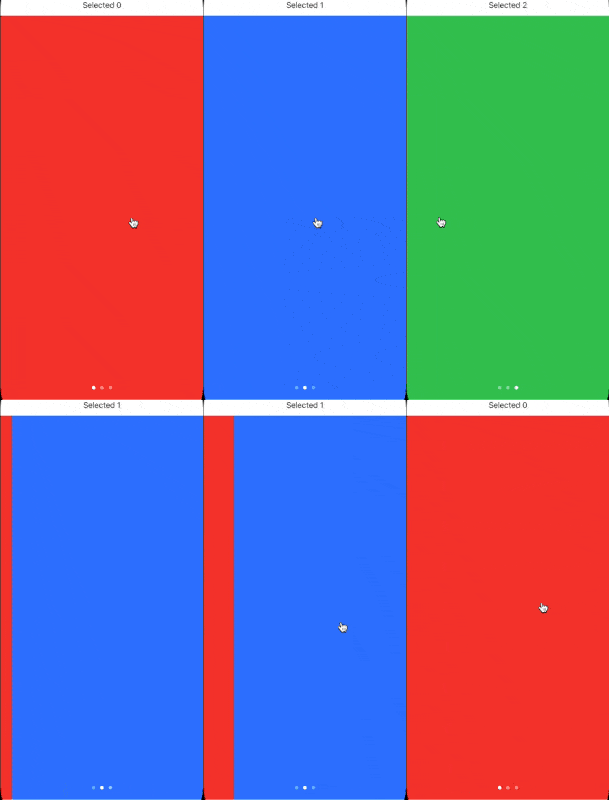
The end result looks like this:

We already have a recipe for Pager / Swiper view in SwiftUI that also works on iOS 13. Be sure to check it out if you need more flexibility or have to support older iOS versions.
Okay, so this is as simple as it gets:
TabView {
  Color.red
  Color.blue
  Color.green
}.tabViewStyle(PageTabViewStyle(indexDisplayMode: .always))
Just wrap your pages in a TabView and set its tabViewStyle to PageTabViewStyle. You can choose if the dots show by changing indexDisplayMode. And that's it! It does seem a bit out of place to wrap this functionality in a TabView, but that's what Apple went with.
Tracking page selection
You can track which page is currently selected by applying a tag to all the page views (all tags must be of the same type). Then, pass a binding of that type to the TabView initializer:
struct TabViewPagerTest: View {
  @State private var selectedPage = 0

  var body: some View {
    VStack {
      Text("Selected \(selectedPage)")
      TabView(selection: $selectedPage) {
        Color.red
          .tag(0)
        Color.blue
          .tag(1)
        Color.green
          .tag(2)
      }.tabViewStyle(PageTabViewStyle(indexDisplayMode: .always))
    }
  }
}
The result looks like this:
