13
May
2021
SwiftUI Splash Screen
Reading time: 1 min
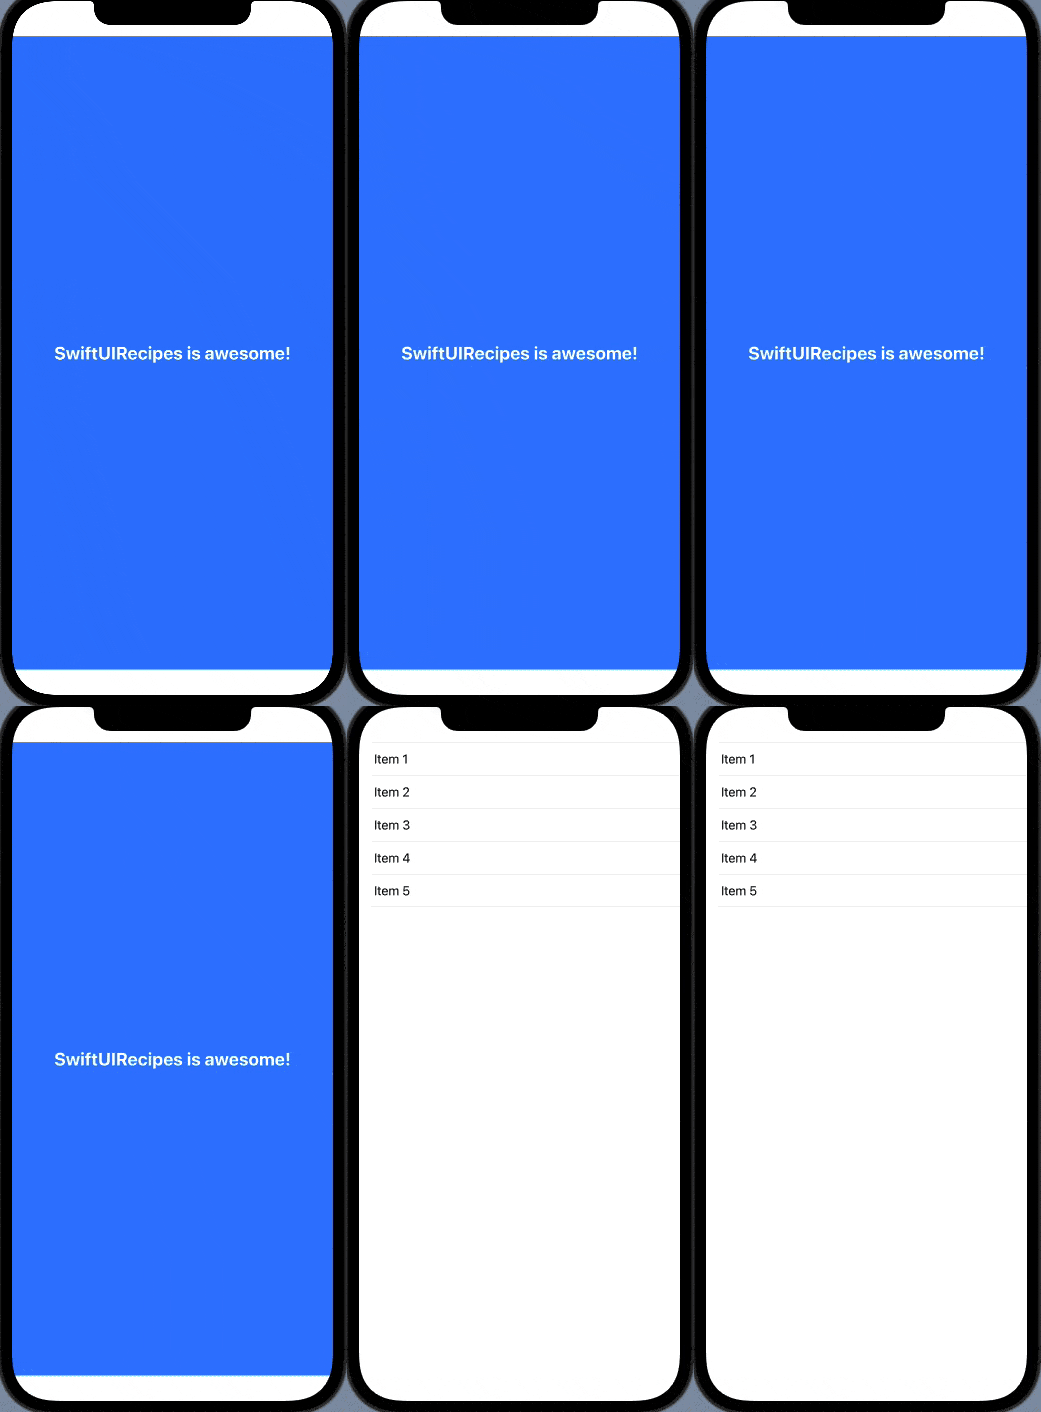
This recipe shows how to add a Splash Screen to your SwiftUI app! You can specify a custom view that will show when your app starts and then dismiss itself automatically after a certain period of time.
The end result looks like this:

This component is available as a Swift Package in this repo.
This is a very simple example of a ViewModifier that just swaps content views depending on a state parameter:
private let defaultTimeout: TimeInterval = 2.5

struct SplashView<SplashContent: View>: ViewModifier {
  private let timeout: TimeInterval
  private let splashContent: () -> SplashContent

  @State private var isActive = true

  init(timeout: TimeInterval = defaultTimeout,
       @ViewBuilder splashContent: @escaping () -> SplashContent) {
    self.timeout = timeout
    self.splashContent = splashContent
  }

  func body(content: Content) -> some View {
    if isActive {
       splashContent()
        .onAppear {
           DispatchQueue.main.asyncAfter(deadline: .now() + timeout) {
             withAnimation {
               self.isActive = false
             }
           }
         }
    } else {
      content
    }
  }
}

extension View {
  func splashView<SplashContent: View>(
    timeout: TimeInterval = defaultTimeout,
    @ViewBuilder splashContent: @escaping () -> SplashContent
  ) -> some View {
    self.modifier(SplashView(timeout: timeout, splashContent: splashContent))
  }
}
Then, simply apply it to your root/main view:
struct HomeView: View {
  var body: some View {
    List(1..<6) { index in
      Text("Item \(index)")
    }.splashView {
      ZStack {
        Color.blue
        Text("SwiftUIRecipes is awesome!")
          .fontWeight(.bold)
          .font(.system(size: 24))
          .foregroundColor(.white)
      }
    }
  }
}