18
Jul
2022
Styling SwiftUI Gauge
Reading time: 1 min
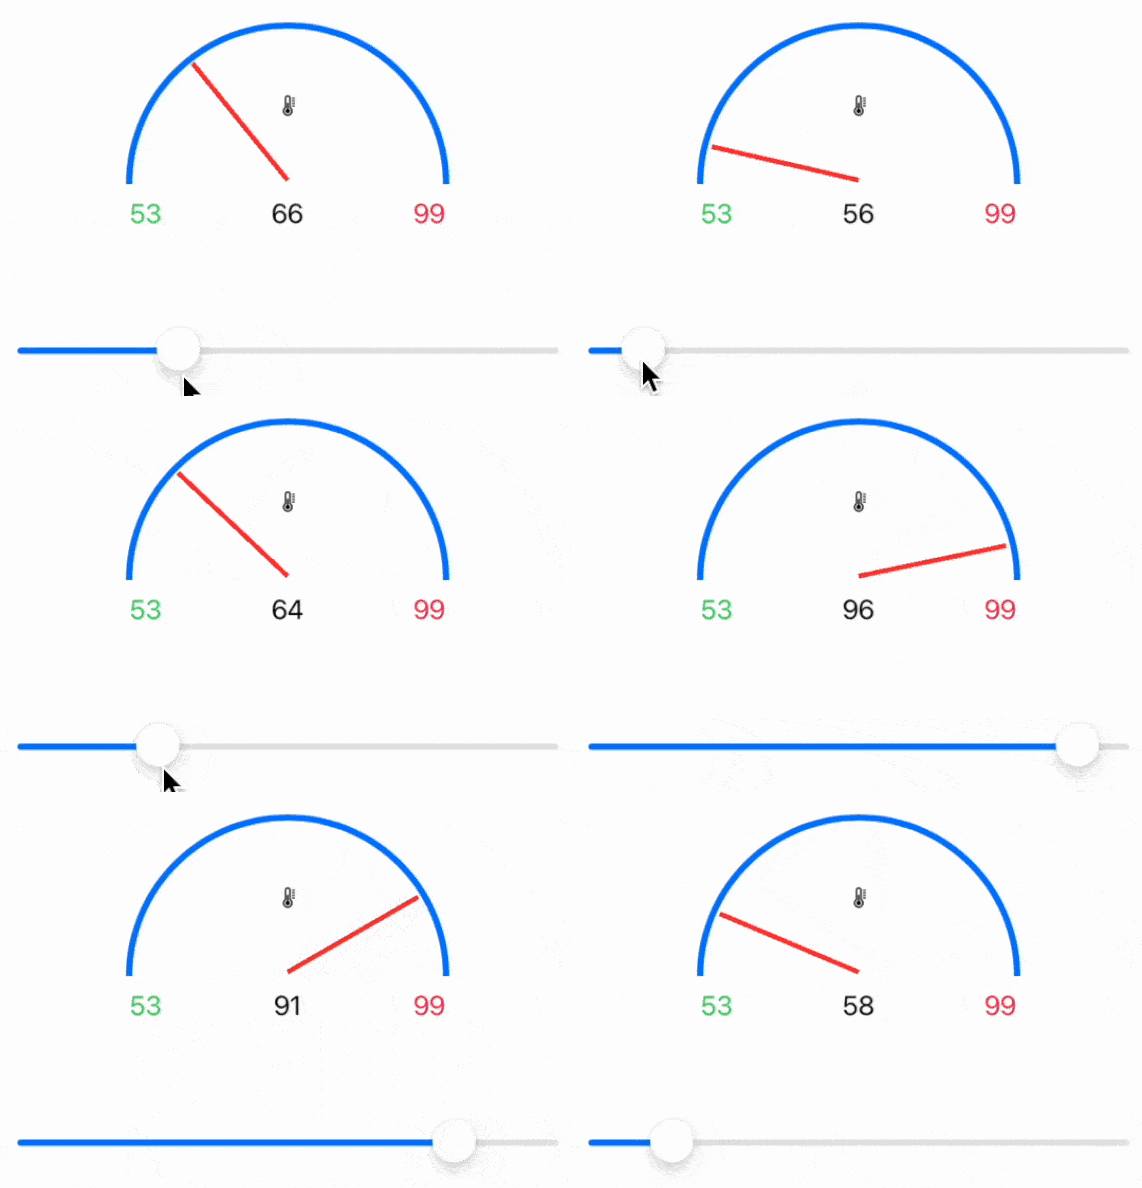
This recipe shows how to style SwiftUI Gauge views. You'll implement a needle gauge views that mimics speedometers in cars using a custom GaugeStyle.
The end result will look like this:

Gauge is available starting in SwiftUI 4 (iOS 16, macOS 12.4).
As other SwiftUI styles, GaugeStyle builds the view based on GaugeStyleConfiguration, which provides you with:
- Views for the gauge
label,minimumValueLabel,currentValueLabelandmaximumValueLabel. - Progress
valuein the 0 to 1 range.
Here's the code for the speedometer gauge view. It relies on this recipe to draw an arc:
struct NeedleGaugeStyle: GaugeStyle {
  func makeBody(configuration: Configuration) -> some View {
    VStack {
      ZStack() {
        configuration.label
        Arc()
          .stroke(Color.blue, lineWidth: 4)
        Rectangle()
          .foregroundColor(.red)
          .frame(width: 3, height: 95)
          .rotationEffect(.degrees((configuration.value - 0.5) * 180), anchor: .bottom)
      }
      .frame(height: 100)
      HStack {
        configuration.minimumValueLabel
        Spacer()
        configuration.currentValueLabel
        Spacer()
        configuration.maximumValueLabel
      }
    }
    .frame(width: 200)
  }
}

struct Arc: Shape {
  func path(in rect: CGRect) -> Path {
    var path = Path()
    let radius = max(rect.size.width, rect.size.height) / 2
    path.addArc(center: CGPoint(x: rect.midX, y: rect.maxY),
                radius: radius,
                startAngle: .zero,
                endAngle: .degrees(180),
                clockwise: true)
    return path
  }
}
Then, just apply the gaugeStyle modifier on a Gauge:
struct GaugeViewTest: View {
  @State private var current = 66.0
  @State private var minimum = 53.0
  @State private var maximum = 99.0

  var body: some View {
    VStack(spacing: 60) {
      Gauge(value: current, in: minimum...maximum) {
        Image(systemName: "thermometer")
          .font(.caption)
      } currentValueLabel: {
        Text("\(Int(current))")
      } minimumValueLabel: {
        Text("\(Int(minimum))")
          .foregroundColor(.green)
      } maximumValueLabel: {
        Text("\(Int(maximum))")
          .foregroundColor(.pink)
      }
      .gaugeStyle(NeedleGaugeStyle()) // HERE

      Slider(value: $current, in: minimum...maximum) {
        EmptyView()
      }
    }
    .padding()
  }
}