02
Jan
2022
SwiftUI Navigation Bar Title Custom View
Reading time: 1 min
This quick recipe shows how to put any custom view in a navigation bar, replacing the default navigation bar title text. Of course, that view can be interactable and respond to user input.
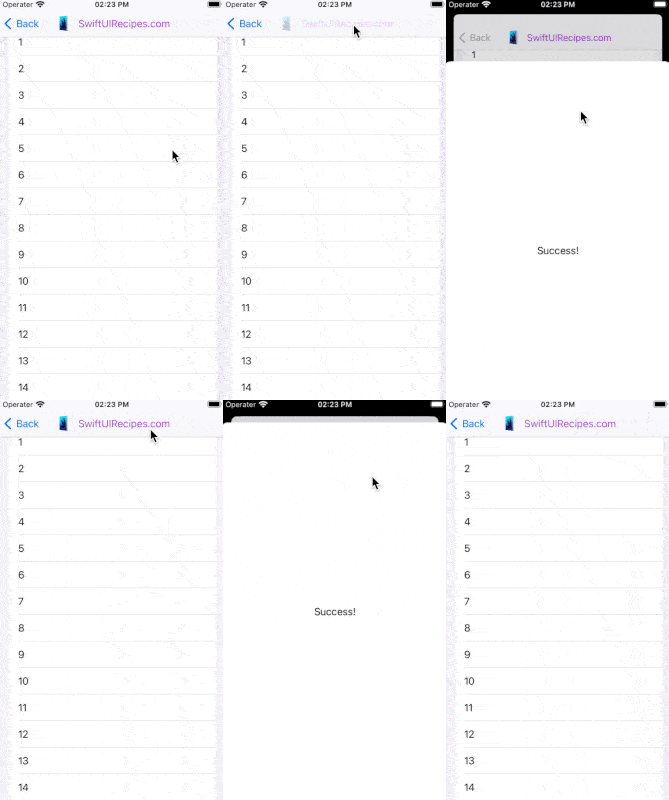
The end result looks like this:

This solution works for SwiftUI 2+ (iOS 14+, macOS 11+).
The trick is to use a ToolbarItem with placement set to principal. Here's a convenient extension that does exactly that:
extension View {
  func navigationBarTitle<Content>(
    @ViewBuilder content: () -> Content
  ) -> some View where Content : View {
    self.toolbar {
      ToolbarItem(placement: .principal, content: content)
    }
  }
}
Then, you can use it just like you'd use regular navigationBarTitle(_:) with text, except you can pass any view to it:
NavigationView {
  List {
    ForEach(1..<50) {
      Text("\($0)")
    }
  }
  .navigationBarTitle { // HERE
    Button(action: {
      // do something
    }) {
      HStack {
        Image(systemName: "ellipsis.circle")
          .resizable()
          .frame(width: 32, height: 32)
        Text("SwiftUIRecipes.com")
          .foregroundColor(.purple)
      }
    }
  }
}